If you’re facing issues with your submersible well pump, it may be time for a replacement. While the task may seem daunting, with the right knowledge and tools, you can easily replace a submersible well pump on your own. In this guide, we will walk you through the necessary steps to ensure a smooth and efficient process.
Key Takeaways:
- Replacing a submersible well pump can be done by following a few simple steps.
- Understanding your well system and its components is crucial before attempting to replace the pump.
- Proper preparation, including shutting off the breaker and gathering the necessary tools, is essential.
- Removing the old pump and installing the new one should be done with caution to avoid damage.
- Testing the functionality of the new pump and finalizing the installation ensures a successful replacement.
Understanding Your Well and How It Works
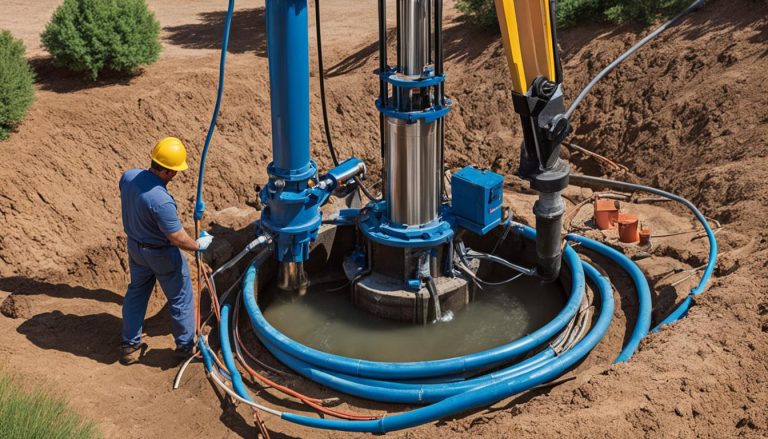
Before diving into the process of replacing a submersible well pump, it’s important to have a clear understanding of your well system and how it operates. This includes knowing the components of your well, such as the well casing, water tube, electrical wiring, safety rope, and pump assembly. Additionally, understanding how a pressure tank works and the importance of having the right pump for your well’s depth and water needs is crucial.
When it comes to submersible pump installation, it’s essential to have a well-designed system that can efficiently deliver water to your home or property. Let’s take a closer look at the key components:
1. Well Casing
The well casing is a protective tube that surrounds the well shaft and prevents contaminants from entering the well. It is typically made of materials like PVC or steel and extends from the ground surface to the bottom of the well.
2. Water Tube
The water tube is a vertical pipe that connects the well casing to the pump assembly. It allows water to flow from the well into the pump for distribution.
3. Electrical Wiring
Electrical wiring is necessary for powering the submersible pump. It connects the pump to an electrical power source, such as a control box or pressure switch.
4. Safety Rope
A safety rope is attached to the pump assembly and extends to the surface of the well. It serves as a precautionary measure, allowing the pump to be easily retrieved if maintenance or replacement is needed.
5. Pump Assembly
The pump assembly consists of the submersible pump, motor, impellers, and other internal components. It is responsible for drawing water from the well and delivering it to your home or property.

Understanding the role and function of these components is essential when replacing a deep well pump. It ensures that you choose the right pump for your specific well depth and water requirements, as well as helps in troubleshooting any issues that may arise during the installation process.
Knowing the ins and outs of your well system will make the submersible pump installation process much easier and smoother. Take the time to familiarize yourself with the components and how they work together, ensuring a successful replacement and optimal performance.
Preparing for Pump Removal
Before you can replace a submersible well pump, proper preparation is essential. By following these steps, you’ll ensure a smooth and efficient removal process.
Step 1: Shut off the Breaker
Begin by shutting off the breaker that supplies power to the pump. This step is crucial to prevent any accidents or electrical shocks during the removal process.
Step 2: Locate and Remove the Well Head Cap
Next, locate the well head cap, which is typically found above the well casing. Use a flashlight to inspect the area and ensure it is clear of debris or obstructions. Once the cap is located, carefully remove it using the appropriate tools.
Step 3: Inspect the Well
With the well head cap removed, inspect the inside of the well using a flashlight. Look for any signs of damage, sediment buildup, or other issues that may need to be addressed. This inspection will help you identify any troubleshooting needs before proceeding with the pump removal.
Step 4: Gather the Necessary Tools and Assistance
Before starting the pump removal process, gather all the necessary tools. These may include a pitless adapter wrench, hammer, and other tools specific to your well system. Additionally, it’s recommended to have at least one other person assisting you for safety and ease of handling.
Pro Tip: Troubleshooting submersible well pump issues before removing the pump can save you time and effort. If you encounter any problems during the inspection, consult a professional or reference the well pump’s troubleshooting guide for further guidance.
By following these steps, you’ll be well-prepared to remove the submersible well pump efficiently and safely.

Note: The image above illustrates the various steps involved in troubleshooting a submersible well pump.
Removing the Well Pump
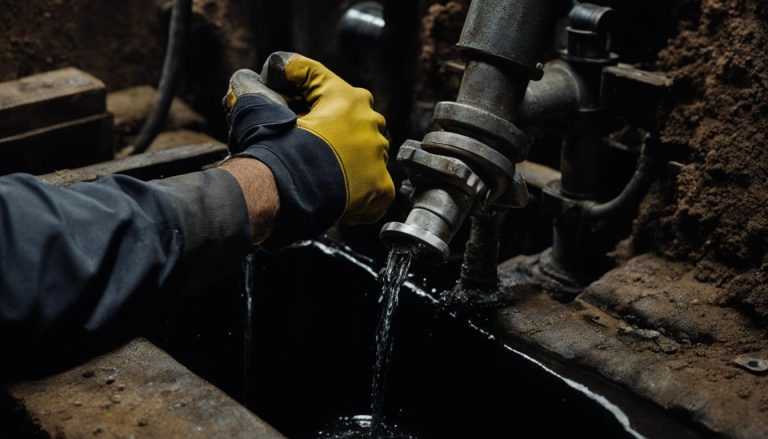
Once you have prepared for the pump removal, it’s time to start the process. Using a pitless adapter wrench, you will disconnect the electrical connections, and with the help of another person, you will pull up the pump assembly from the well. It’s important to take caution during this step to avoid any damage to the pitless connector or the pump itself.
Removing the well pump requires careful execution to ensure a smooth transition. Follow these steps to successfully remove your well pump:
- Begin by disconnecting the electrical connections using a pitless adapter wrench.
- With the assistance of another person, carefully pull up the pump assembly from the well. Be mindful of any obstructions or potential hazards along the way.
- Take note of the pitless connector and the condition of the pump during the removal process to avoid any damage.
By following these steps, you can safely remove the well pump and proceed with the next phase of your submersible pump installation.
Selecting and Installing the New Pump
Now that you have successfully removed the old pump, it’s time to select and install the new submersible pump. This step is crucial to ensure the continued functionality of your well water system.
When choosing the new pump, it’s important to verify that it matches the specifications of the old pump. Pay close attention to factors such as horsepower, voltage, and flow rate. By selecting a pump that aligns with the previous specifications, you can maintain the efficiency and performance of your well system.
Additionally, make sure to make proper electrical connections when installing the new pump. This includes using heat shrink tubing for added protection and ensuring that all connections are secure and tightly sealed. Taking these precautions will help prevent any electrical issues or safety hazards.
Once the new pump is ready for installation, begin by lowering it into the well carefully. Ensure that it is properly aligned and centered within the well casing. Next, connect the necessary pipes, including the discharge pipe, check valve, and any other components required for your specific well system.
Remember to refer to the manufacturer’s instructions and follow their recommended installation procedures. This will ensure that the new pump is installed correctly and functions optimally. If you have any uncertainties during the installation process, consult a professional to ensure a proper and efficient installation.
Testing and Finalizing the Installation
Once the new pump is in place, it’s time to ensure that it functions properly before finalizing the installation. Testing the pump’s functionality is a crucial step to ensure efficient water flow and a successful submersible well pump replacement. Follow these steps to test your newly installed pump:
- Connect a hose to the pressure tank: Attach a hose to the pressure tank valve.
- Open the valve: Turn on the valve and allow the water to flow through the hose.
- Check for proper water flow: Observe the water flow from the hose. It should be consistent and without any interruptions or fluctuations.
- Inspect the electrical connections: Double-check all the electrical connections to ensure they are secure and properly attached.
- Troubleshoot if necessary: If there are any issues with the water flow or pump operation, troubleshoot the problem. Refer to the pump’s manual or consult a professional if needed.
Once you have confirmed that the pump is working correctly, you can proceed with finalizing the installation. Follow these additional steps:
- Install the well cap: Place the well cap securely over the well head, ensuring a tight fit.
- Consider water testing: It is advisable to have your well water tested for bacteria and quality. Contact a certified laboratory for water testing.
Benefits of Testing and Finalizing the Installation
Thoroughly testing and finalizing the installation of your submersible well pump replacement offers several important benefits:
- Confirms proper water flow: Testing ensures that water flows smoothly and consistently through your system, providing an uninterrupted water supply.
- Identifies problems early: By testing the pump’s functionality, you can promptly identify any issues and address them before they become more significant problems.
- Ensures efficient operation: A properly installed and tested pump operates efficiently, saving energy and reducing long-term maintenance costs.
- Improves water quality: Conducting water testing helps ensure the safety and quality of your well water, protecting your health and the health of your family.
By following these testing and finalizing steps, you can have peace of mind knowing that your submersible well pump replacement has been successfully completed and your water supply is operating optimally.
Replacing a submersible well pump is a task that requires the right knowledge and tools. By understanding your well system, properly preparing for the pump removal, selecting and installing the new pump, and testing the installation, you can ensure a successful well pump replacement.
Throughout the process, it is essential to prioritize safety and proper electrical connections. Consult an expert if you’re unsure about any step in the process to avoid any potential issues. Remember, a well-functioning pump is crucial for maintaining a reliable water supply for your household or property.
With the right approach and a little bit of patience, you can successfully replace your submersible well pump and continue enjoying the benefits of a fully operational well system. Don’t hesitate to reach out to professionals for assistance and guidance to ensure that your submersible well pump replacement is done correctly.
FAQ
How often should a submersible well pump be replaced?
On average, a submersible well pump can last between 8 to 15 years. However, the lifespan can vary depending on factors such as water quality, usage, and maintenance. It’s important to monitor your pump regularly and replace it when signs of failure or decreased performance are detected.
How can I troubleshoot a submersible well pump?
If your submersible well pump is experiencing issues, there are a few troubleshooting steps you can take. First, check if the electrical breaker for the pump is switched on. Next, inspect the pressure switch and pressure tank for any faults. It’s also important to check for any blockages in the water line. If the troubleshooting steps do not resolve the issue, it may be time to consider replacing the pump.
Can I replace a submersible well pump myself?
Yes, it is possible to replace a submersible well pump as a DIY project. However, it requires a good understanding of your well system and the necessary tools. If you’re unsure about any step in the process or have concerns about safety and electrical connections, it’s recommended to consult a professional.
What tools do I need to replace a submersible well pump?
To replace a submersible well pump, you will need several tools, including a pitless adapter wrench, hammer, flashlight, heat shrink tubing, and the appropriate connectors for your well system. Additionally, having the assistance of at least one other person is recommended to help with the removal and installation process.
How do I choose the right replacement submersible well pump?
When selecting a replacement submersible well pump, it’s important to consider factors such as the depth of your well, water flow requirements, and the horsepower and voltage specifications of your old pump. It’s recommended to consult a well pump professional who can help you choose the right pump based on your specific needs.
How do I test the functionality of a new submersible well pump?
To test the functionality of a new submersible well pump, you can connect a hose to the pressure tank and check if water is flowing properly. Ensure that there are no leaks or abnormal sounds during operation. If you notice any issues, double-check the electrical connections and troubleshoot as needed. It’s also important to have your well water tested for bacteria and quality after the pump replacement.


